Why Transitions Matter More Than You Think
Transitions aren’t just visual flourishes they’re how you guide your audience through your story. A rough cut or jarring shift pulls them out of the moment. On the flip side, a well placed transition creates a rhythm that keeps viewers locked in, even if you’re just moving from making coffee to answering emails.
Whether it’s a whip pan, a fade to black, or a jump cut that matches energy, every transition has a job: to carry momentum, set the tone, or signal a shift. Good flow doesn’t mean flashy for the sake of it. It means every cut connects. No wasted space. No awkward gaps.
Bottom line: a polished vlog isn’t just about what you record, but how you move through it. The story lives in the transitions as much as the content.
Types of Transitions That Work
Hard Cuts
Simple, sharp, and to the point. Hard cuts get you from one shot to the next with zero fluff. They’re best when you’re driving momentum talking to the camera, jumping between scenes, or hopping through a list. Used well, they keep the viewer locked in. Used poorly, they feel jarring. Keep your visuals clean and your audio seamless.
Dissolves & Fades
These are your go to for quiet transitions like shifting from day to night, moving through time, or signaling an emotional beat. Fades help soften the narrative. They’re not high impact, but they do suggest a pause or a breath. Overuse them, though, and your edit can feel sluggish.
Motion Based Transitions
Swipes, pushes, zooms, and whip pans. These transitions carry kinetic energy and are perfect for high tempo content travel, action, or anything that thrives on rhythm. When matched with movement in the footage, they feel natural. Just don’t cram them into every cut or risk looking like a template junkie.
Creative Transitions
Done right, these become part of your brand. Think frame wipes using everyday objects, match cuts that tie locations together, or sound driven transitions synced to music beats. They’re not necessary every time, but when used sparingly, they leave a mark. The line between clever and gimmicky is thin so tread lightly.
When to Use Each
Use hard cuts when clarity and momentum matter.
Use fades and dissolves when transitioning moods or time.
Use motion transitions to boost pace and connect dynamic shots.
Use creative transitions sparingly as flavor not the main dish.
Bottom line: your transitions work best when they match your content’s purpose. Choose for flow, not flash.
Editing For Flow: Do’s and Don’ts
Creating seamless transitions isn’t just about choosing the right effect it’s about editing with purpose. To maintain viewer engagement, your cuts need to feel natural and rhythmically aligned with the story you’re telling.
What To Do
Smart editing choices can elevate your vlog’s professionalism while keeping viewers locked in:
Match motion direction and camera angles
Ensure that movement flows logically from clip to clip. For example, if someone exits frame right in one shot, they should enter frame left in the next.
Cut on action to keep momentum
Cutting at the peak of a movement like a turn, jump, or camera pan creates a smoother flow and keeps energy high. This technique helps transitions feel almost invisible.
What To Avoid
Misused transitions can confuse viewers or pull them out of the moment. Avoid these common mistakes:
Overusing flashy transitions
Light leaks, spins, or zooms may seem impressive, but when used too often, they distract from your message. Use them to enhance not overshadow your story.
Ignoring pacing
A rush of jump cuts can feel chaotic, while overly long scenes can cause boredom. Balance energy with breathing room. Always ask: does this cut serve the story?
By being intentional with your transitions and editing choices, your vlog will feel more professional, polished, and enjoyable to watch.
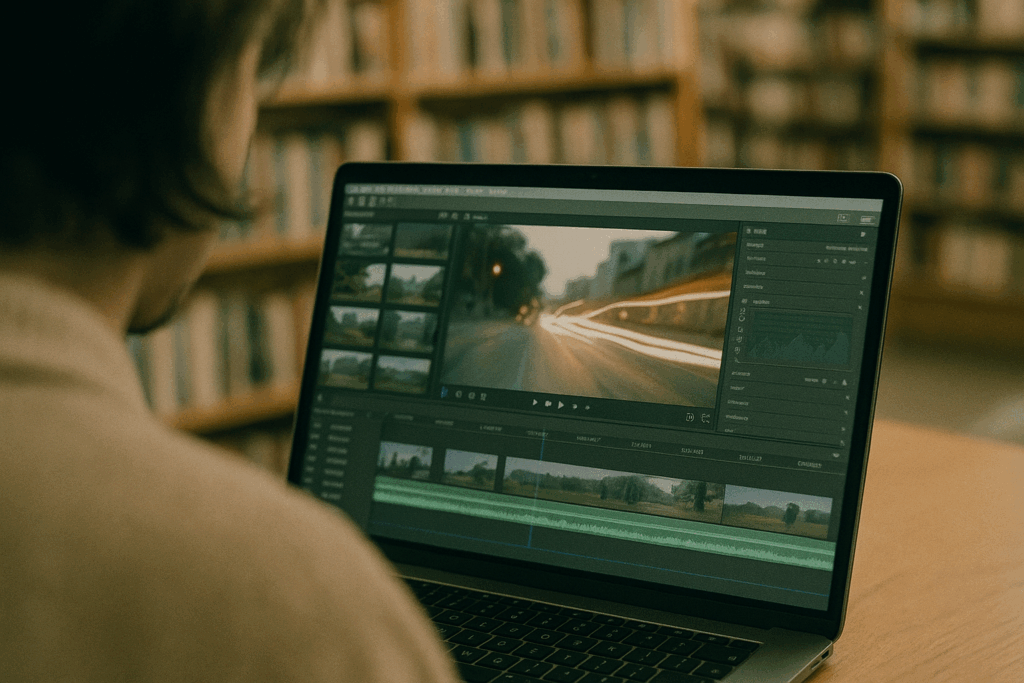
Software that Makes It Easy
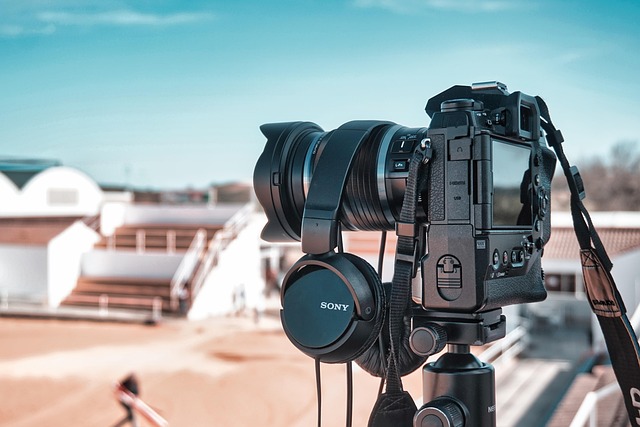
You don’t need to be a pro editor to make transitions look clean. Most modern video editing platforms like Premiere Pro, Final Cut Pro, and even mobile apps like CapCut come stacked with built in transition tools. Want to create a whip pan or a smooth L cut? It’s probably drag and drop at this point.
Custom presets are a game changer too. Save your go to transition setups once, and you never have to build them again from scratch. Whether you’re editing on desktop or mobile, these presets keep your edits fast and your vibe consistent across episodes.
If you’re ready to push beyond the basics, this comparison of the top video editing software breaks down which tools offer the best transition features for vloggers who want impact without the headache.
Putting It All Together
Solid transitions don’t happen by accident. Planning them while you’re filming not just during the edit can keep your workflow lean and cut hours off post production. Think about motion, angles, and natural exit points as you shoot. That way, your cuts already have flow built into them.
Style matters too. Match your transition choices to your vlog’s tone. If your brand is minimal and no nonsense, don’t throw in a loud spin blur just because it looks cool. It should feel seamless not stitched together with flashy patches.
Here’s a quick gut check: watch your vlog with no sound. Does the visual story still make sense? If the pacing holds up and the shots flow, you’ve done your job right.
Want tools that help you do this faster? Explore the top video editing software to streamline your workflow and upgrade your visual storytelling.
 As a co-founder of vlogedgevault Zorien Quenthos combines technical expertise with visionary leadership. His contributions spotlight the latest innovations in media technology, ensuring the platform remains a trusted hub for vloggers and digital creators.