Why Color Grading Matters
Before viewers hear you speak or catch the storyline, color does the talking. A well graded video instantly sets tone cool shadows for mystery, warm hues for openness, desaturated palettes for grit. It’s one of the quickest ways to convey mood without spelling it out.
Color grading also draws a clear line between amateur and professional work. Raw footage often looks flat. Graded footage looks intentional and cinematic. It tells the viewer you put in the time to craft the experience, not just record it.
Then there’s branding. Consistent color grading across episodes builds visual cohesion. Think of it as your vlog’s fingerprint. Whether someone is watching episode one or twenty one, they should feel that familiar tone your tone every time.
Nail Your Look Before You Shoot
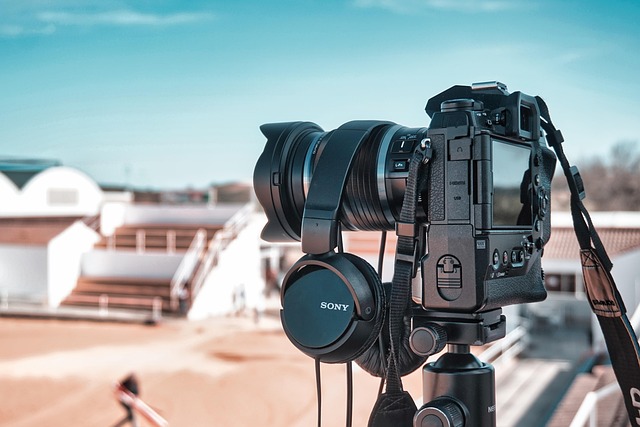
Great color grading starts before you hit record. First move: set your camera to the right color profile. If you’re aiming for max control in post, go log or flat it gives you more dynamic range. Want less hassle? Stick with natural or standard settings that don’t need a ton of correction later. Either way, lock it in from the start.
Next, go manual with your white balance. Auto might seem easier, but it can shift mid shot and wreck your consistency. Dial in your balance based on the light in your scene and keep it there. One less thing to fix later.
Don’t underestimate lighting. Whether you’re shooting in daylight, LEDs, or softboxes, keep your lighting consistent from clip to clip. Even small shifts will show up once you start grading. Same light, same direction, same look. That’s how you streamline post production and keep your visuals tight.
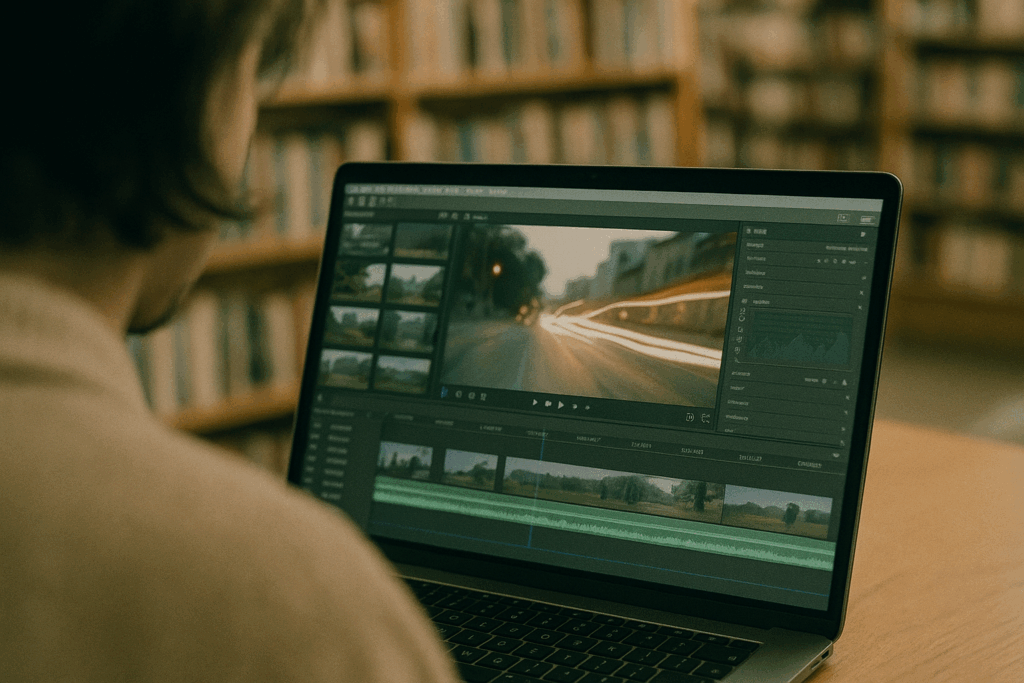
Go To Software for Color Grading
Whether you’re just diving into color grading or leveling up, picking the right tool makes a difference. DaVinci Resolve leads the pack with its powerful color suite it’s what many pros use thanks to its precision controls and node based grading system. Adobe Premiere Pro is a go to for vloggers already editing inside the Adobe ecosystem. Its Lumetri Color panel is beginner friendly and gets the job done fast. Final Cut Pro is a strong choice for Mac users focused on speed and ease, with solid grading tools built in.
LUTs (Lookup Tables) can be a shortcut or a trap. They’re useful when you want a consistent look fast solid for batch editing or stylized content. But if you’re going after a specific mood, skin tone accuracy, or just need more control, manual grading is the way to go. A custom workflow lets you dial in details LUTs can’t touch.
Start with primary grading fixing exposure, contrast, white balance. Get your base right before jumping into secondary grading. That’s where you fine tune: isolate skin tones, push certain colors, deepen shadows, or isolate a single subject. Layering effects this way keeps your color story clean and intentional without muddying your footage.
Pro Techniques That Make The Difference
Nailing pro level color grading comes down to control and knowing exactly what to control.
Start with skin tones. They’re the first thing viewers pick up on, and they can make or break how natural your footage feels. Use hue vs hue and hue vs saturation curves to isolate and fine tune skin ranges without flattening everything else. Keep it real plastic, overly warmed faces scream “overcooked.”
Next up: RGB curves. These aren’t just for light tweakers. They let you dial in contrast with sniper precision, adjusting highlights, mids, and shadows in each color channel. It’s where you go when you want mood, not mush. A clean S curve on the RGB master can wake up a flat shot fast, but tooling each channel separately sets the emotional tone.
Finally, pull out the color wheels. These babies are your weapon for depth. Push your midtones warmer, cool off the shadows, or go bold with split toning just don’t lose the balance. Want a moody cafe vibe or faded golden hour drama? Wheels give you the control to sculpt the atmosphere, not just paint over it.
Used together, these tools carve out style, not just color. For more advanced guidance, check out Explore more color grading tips.
Create Your Own Signature Grade
Developing a signature color grade is what turns a good vlog into a memorable one. It’s the visual fingerprint of your content the unique tone, emotion, and atmosphere that audiences come to associate with your brand. Here’s how to get started:
Build a Custom LUT That Fits Your Vibe
LUTs (Look Up Tables) allow you to apply a specific color style to your footage instantly. But instead of relying on generic, pre made LUTs, take the time to create your own.
Analyze footage that inspires you what tones or palettes stand out?
Start with a base grade for exposure and contrast before adding stylistic tweaks
Adjust saturation, hue, and shadows to reflect your desired mood
Save it as a custom LUT you can apply to future projects
Save Grading Templates to Streamline Your Workflow
You don’t need to regrade every time you edit. Most professional editing software allows you to save your settings as presets or templates.
In DaVinci Resolve, use PowerGrades and Color Trace features
In Adobe Premiere Pro, save Lumetri presets for your looks
In Final Cut Pro, create effects presets for reuse across clips or projects
These steps can dramatically reduce edit time and improve consistency.
Apply Consistent Color Styles Across Your Series
Viewers appreciate continuity. Applying the same grade across your series builds professionalism and strengthens your brand identity.
Match grades between shots using reference stills
Apply your custom LUT and refine as needed per scene
Double check scenes shot in different lighting to avoid color mismatches
Consistency isn’t just visual it builds trust. When your signature grade becomes familiar, you create a more immersive and recognizable viewing experience.
Don’t Overdo It
Great color grading enhances your vlog but pushing it too far can distract your audience or make your footage look artificial. Knowing where to draw the line is key.
Spotting an Overdone Grade
An overly aggressive color grade can undermine even the best shot footage. Look for warning signs like:
Crushed blacks or blown out highlights: You lose detail in shadows and highlights, reducing dynamic range.
Unnatural skin tones: Faces may appear orange, greenish, or overly muted.
Too much saturation or contrast: Colors look cartoony instead of cinematic.
Strong color casts: When everything leans too heavily warm or cool without creative intent.
Why Less Is Often More
Subtle tweaks are usually more effective than dramatic overhauls. The goal is to complement your footage, not compete with it.
Maintain a natural feel unless stylization is intentional.
Small adjustments to midtones, highlights, and shadows go a long way.
Viewers should feel the mood shift not notice the edit.
Test Across Multiple Screens
What looks good on your editing monitor might look off elsewhere. Always check your vlog on these devices:
Smartphone (bright screens tend to exaggerate contrast)
Laptop screen (standard lighting and tone)
TV or external monitor (for consistency at scale)
This small step ensures your final grade holds up across devices your audience actually uses.
Ultimately, restraint is a skill. Mastering it brings a professional polish to your vlogs while preserving their authenticity.
Speed Up Without Sacrificing Quality
Color grading doesn’t have to eat your entire weekend. Yes, it’s where style is baked in but smart editors know where to tighten things up without cutting corners.
First, presets. They’re useful, especially when you’re building a vibe across a series. But blindly slapping on a LUT doesn’t work. Tweak it. Match it to your shot’s lighting and subject. Think of them as a base coat, not the final layer.
Next, there are tools that serious editors wouldn’t work without like adjustment layers, auto color match, and keyboard shortcuts (learn them, seriously). Plug ins like Magic Bullet or FilmConvert can also do a lot of the heavy lifting but you need to guide them. A tool’s only as good as the hand using it.
For indie vloggers juggling tight schedules, batch grading’s a game changer. Grade one clip, save the look, and apply it across the board. But always spot check the results. Not every shot reacts the same way, so add small adjustments as needed.
For more pro level grading moves, check out More pro level color grading tips here.
Final Shot: Keep Improving
Color grading isn’t a one and done skill it’s a craft that develops over time. As platforms evolve and visuals become more competitive, staying sharp with your technique is what separates standout creators from the crowd.
Train Your Eye
Watch with intention: Analyze films, vlogs, and commercials not just for story, but for how color is used to influence tone, emotion, and pacing.
Study different styles: From cinematic moods to vibrant travel content, become fluent in multiple aesthetics so you can build your own.
Practice is Non Negotiable
Experiment with raw footage: Don’t wait for client work or a final project. Grab clips you’ve already shot and treat them like test cases.
Push boundaries safely: Try bold looks and extreme corrections to understand how far you can and should go. Then scale back for real world use.
Stay Tool Savvy
Keep software updated: New features in Premiere Pro, Resolve, and Final Cut can significantly impact your workflow.
Explore plugin releases: Tools like FilmConvert, Magic Bullet, and Dehancer frequently roll out new functions and looks that can elevate your grade.
Follow industry pros: Tutorials and behind the scenes breakdowns are gold for learning nuanced techniques.
Professional color isn’t just about polish it’s about vision. The more you study the craft and refine your tools, the faster you’ll find your signature style.
 Eddiesons Sinhacha is dedicated to bridging technology and storytelling. At vlogedgevault he specializes in uncovering advanced techniques and digital trends that empower creators to elevate their content and reach wider audiences.