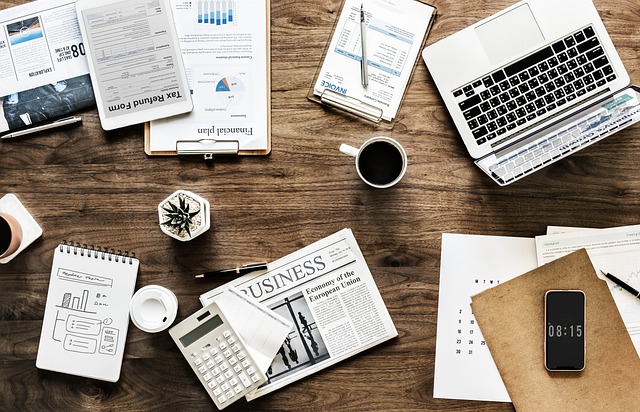
Intro: Gear Isn’t Everything—But It Matters
Creating compelling vlogs starts with a strong story. But even the most engaging narrative can fall flat if your production quality doesn’t hold up. In today’s fast-paced content world, viewers can overlook a smaller budget—but they won’t tolerate poor audio or unwatchable visuals. First impressions matter, and quality gear helps ensure yours is a strong one.
Why Audio and Visual Quality Matter
Before a viewer connects with your message, they react to how it looks and sounds. If your video is shaky or your audio is muffled, it creates immediate friction that makes people click away.
Key issues that hurt engagement:
- Background noise or inconsistent audio levels
- Blurry, low-resolution footage
- Distracting shakes or quick focus drops
Improving your gear doesn’t mean breaking the bank—but it does mean making some thoughtful choices.
You Don’t Need a Studio—Just Strategy
Many top vloggers started with just a smartphone and a tripod. The secret isn’t owning every gadget—it’s knowing what gear serves your content style and audience best.
Smart investment tips:
- Prioritize a decent microphone before upgrading your camera
- Use natural light creatively before buying lighting equipment
- Evaluate your current workflow to identify what’s slowing you down
Start Simple, Scale Smart
Focus on essential upgrades that solve specific problems. Whether you’re building a home studio or vlogging on the go, quality tools amplify your content without getting in the way of creativity.
Remember:
- Good gear supports great storytelling—it doesn’t replace it
- Upgrade gradually as your skills and audience grow
- Review your performance metrics to know where quality tweaks matter most
Camera: Know Your Starting Point
Your camera isn’t everything—but it sets the floor for what your content can look like. If your style is mostly talking heads at a desk, a quality webcam or smartphone might be all you need. Daily vloggers constantly on the move? Mirrorless wins with portability and great image quality. Doing cinematic travel edits or product close-ups? You may want to flex into DSLR territory for the manual control and lens options.
The key is matching your gear to your format, not the other way around.
What truly counts in 2024: 4K video (standard by now), strong autofocus (especially for walk-and-talk content), and solid frame rate options (60fps for action, 24fps for cinematic). Low-light performance and built-in stabilization are nice bonuses, but don’t overpay for features you won’t use.
Here’s where to start:
- Beginners: Sony ZV-1, iPhone 14 Pro, Canon EOS M50 Mark II
- Intermediate: Sony ZV-E10, Panasonic Lumix GH5, Google Pixel 8 Pro
- Advanced: Canon EOS R6, Sony A7 IV, Blackmagic Pocket Cinema 6K
Don’t sink cash into a flagship if you haven’t mastered framing or lighting. Learn what your gear can do, then grow from there.
Microphone: Audio Trumps Visuals, Every Time
You could be filming in 4K with cinematic lighting, but if your sound is garbage, people will click out in seconds. Built-in mics? Forget it. They’re prone to distortion, background noise, and that tubby, hollow sound no one wants to suffer through. Audio is what connects you to your audience. Nail it, and they stay. Miss it, and it doesn’t matter what else you got right.
There are a few mic types every vlogger should know:
- Shotgun mics: These are directional and great for isolating your voice in noisy environments. Ideal for solo creators and on-the-go setups.
- Lavalier (lav) mics: Small, clip-on mics you wear. Perfect for interviews or talking head content where freedom of movement matters.
- USB mics: Plug-and-play for desktop setups. Great for voiceovers, live streams, or indoor studio shoots. Portable, but not meant for outdoor work.
Choosing the right mic depends on what and where you’re shooting. For portability, the Rode VideoMic GO II and Deity V-Mic D4 Mini hit a sweet spot between quality and size. If you’re recording in a space you control, a Blue Yeti X or Audio-Technica AT2020USB+ works well for rich, clean audio.
Bottom line: if you’re serious about vlogging, start treating your audio like it’s half the story—because it is.
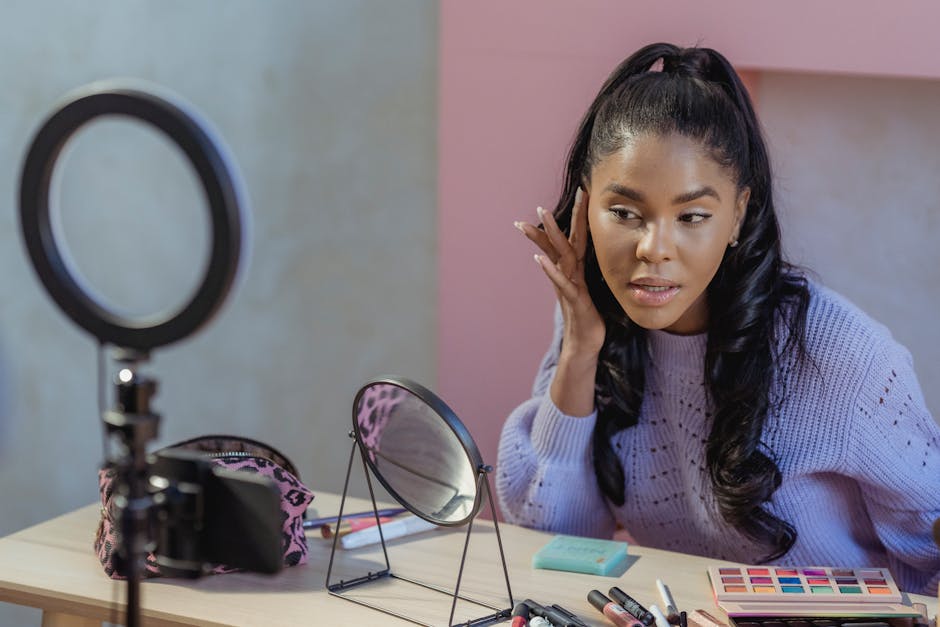
Lighting: Control the Narrative
Good lighting doesn’t mean expensive lighting. It means understanding where light hits, how shadows fall, and what mood you’re building. For starters, natural light is your best friend. Early morning and late afternoon—the golden hours—give you soft, diffused lighting that flatters skin tones and adds dimension. Just face a window and let nature do the work. Skip overhead lights and harsh midday sun unless you’re aiming for a dramatic look.
When the sun’s not an option, you’ll want budget-friendly tools that deliver. A basic ring light works for talking heads and beauty vlogs. Need softer shadows? Go with a collapsible softbox. If you’re shooting in low light or tight quarters, lightweight LED panels give you control and portability. The trick isn’t the price tag—it’s choosing lights that match your shooting goals.
For indoor setups, think environment. Small spaces mean bounce-back glare. Use diffusers or place lights at 45-degree angles to avoid flat-looking footage. Outdoors, expect variables. Clouds shift. Sun moves. Bring a battery-powered fill light just in case your natural setup slips. Light isn’t just about visibility—it’s about tone, feel, and keeping your audience focused on what matters most: your story.
Tripods and Stabilization: Smooth It Out
Doesn’t matter how epic your story is—if your footage is bouncing like it’s taped to a rollercoaster, people won’t stick around. That’s why stabilization gear is non-negotiable for modern vloggers, especially if you’re shooting walk-and-talks or action-heavy content. Whether you’re chasing trails, navigating markets, or pacing through a thought-piece, shaky video kills immersion.
Tripods are your baseline. They’re great for static shots, interviews, or B-roll where you don’t move much. Compact tripods like the Joby GorillaPod offer solid stability while clipping easily to backpacks or railings. Then there are gimbals—motorized stabilizers that keep your camera steady as you move. For creators on the go, gimbals like the DJI Osmo Mobile or Zhiyun Crane M2 offer smooth, cinematic walking shots without much hassle. Handheld rigs add a bit more control and balance but don’t rely on motors, making them a lighter, no-battery option.
The good news: you don’t have to drop hundreds out of the gate. There are solid entry-level stabilizers under $100, and even phone vloggers can find budget gimbals that deliver. As your channel grows, you can scale into multi-axis gimbals or more rugged setups. But don’t overthink it—buy for where you are now, not where you think you “should” be.
Start smooth, stay smooth. Your audience will thank you for it.
Editing Tools and Software
Editing is where raw footage becomes watchable. It’s also where a lot of creators burn out. Choosing the right software matters—not just for the end result, but for how much time and sanity you retain along the way.
Free vs. Premium Editors
Free editors like DaVinci Resolve (for desktops) or CapCut (especially on mobile) are surprisingly powerful. They’ll get you decent cuts, basic transitions, and even multilayer edits. But you’ll quickly hit walls if you go deeper into effects, collaboration, or exporting options. Premium tools—like Adobe Premiere Pro, Final Cut Pro, or LumaFusion—open up pro-tier control, faster rendering, and smoother integration with plugins and effects libraries. The trade-off? Cost and complexity.
Use a free platform if you’re learning, mobile-first, or on a tight budget. Upgrade when workflow friction slows you down more than a licensing fee would.
Workflow Tips
Editing is less about art and more about systems. Save templates for intros and outros. Use keyboard shortcuts—for real, they’ll save hours. Set a default timeline structure with your music, b-roll, and overlays ready to drop in. Do color correction and audio balancing early, not after everything else. And always, always back up your project files.
Decide how long you’re willing to spend editing each video, then reverse-engineer your process to fit. Consistency beats perfection in the algorithm—and your mental health.
Mobile vs. Desktop
Editing on mobile is viable now. Apps like VLLO, CapCut, and LumaFusion give mobile creators solid tools on the go. They’re fast, touch-optimized, and great for short-form or travel content. But they can’t fully replace the precision and horsepower of desktop software when you’re handling longer-form or complex vlogs. If you do both, keep a mobile editor for quick cuts and a more robust desktop setup for studio sessions or heavy edits.
Bottom line: Use the tool that best fits your output style. And if you edit often, make sure your setup works for your brain—not just your budget.
Storage & Backup: Don’t Lose Your Work
You can shoot the perfect vlog, nail the audio, crush the edit—and still lose everything if your storage game is weak. Don’t cut corners here. At minimum, you need a solid SD card (or two), an external hard drive, and a cloud backup. That’s your triangle of protection.
SD cards should be high-speed (UHS-I or UHS-II) and at least 64GB if you shoot in 4K. Keep a few spares—you’ll thank yourself when you’re mid-shoot and max out. External drives are for offloading raw footage fast. Look for SSDs with USB-C connections for speed and durability. Cloud storage? That’s your failsafe. Services like Google Drive, Dropbox, or even Frame.io keep your content accessible and safe from physical mishaps.
As for organizing the chaos: systems beat memory. Start simple. Create folders by date and project. Label everything the moment you import it. Use consistent file naming: YYYY-MM-DD_project-name_clip#. Toss in a text doc with shoot notes if needed. Don’t think you’ll remember what you shot. You won’t.
Storage may not be exciting, but losing footage is. And not in a fun way.
Extras That Save Time and Headaches
It’s the small stuff that can quietly wreck a shoot—or keep it running smooth. Batteries and chargers? Non-negotiable. If your camera dies mid-session because you banked on a single battery, that’s on you. Always carry at least one backup battery and a portable charger. Same goes for memory cards: bring extras and check your write speeds, especially if you shoot in 4K. The cheap card that freezes mid-recording is never worth it.
Travel vloggers live by portable gear. A compact tripod, a foldable microphone, and a weather-resistant bag can go a long way. Keep your setup lean and modular. Think gear that fits in a carry-on but still delivers pro-level results.
If you’re more of a studio vlogger, your battlefield is the desk. Cable management isn’t a luxury—it’s how you stay sane. Velcro wraps, labeled cords, and a power hub with surge protection cut down on clutter and problems. Build a setup you don’t have to babysit, so you can focus on content, not chaos.
Smart creators aren’t flashy. They’re prepared.
Real-World Setups That Work
Here are two solid gear setups—the kind that get the job done without the bloat. One for creators just getting started, and another for those ready to level up. No fluff, just the gear that delivers.
Starter Setup (under $600 total)
- Camera: Canon VIXIA HF R800 ($250) or use your smartphone with a decent camera app
- Mic: Rode VideoMicro Compact ($60)
- Lighting: FOSITAN LED Ring Light ($70)
- Tripod: JOBY GorillaPod 3K Kit ($50)
- Editing: CapCut (Free)
- Storage: SanDisk 128GB SD Card + backup on Google Drive ($30 + Free tier)
This rig covers all the bases: clean visuals, usable audio, solid lighting, and stable footage. Easy to pack, quick to use.
Pro-Level Setup (around $2,000 total)
- Camera: Sony ZV-E10 with kit lens and accessories ($900)
- Mic: Rode Wireless GO II with lapel mic ($300)
- Lighting: Neewer 2-Pack LED Softbox Kit ($180)
- Tripod/Gimbal: Manfrotto BeFree Tripod + Zhiyun Weebill S Gimbal ($400)
- Editing: Adobe Premiere Pro (Subscription ~$240/year)
- Storage: 2TB Samsung T7 External SSD + 200GB cloud backup through Backblaze or similar (around $200)
This configuration is sharp, flexible, and ready for studio-level production or run-and-gun travel vlogging.
Why Upgrade With Your Channel, Not Ahead of It Too many creators burn cash trying to look pro before growing their voice. The truth? Your audience cares more about your ideas than if your bokeh is buttery. Smart creators upgrade after they’ve hit consistent output and know what tools will actually solve problems. Start lean, learn what slows you down, and only upgrade when your workflow—or your viewers—demand it.
Long-Term Mindset: Don’t Just Buy—Build
No piece of gear will magically make you a better storyteller. You can have the best lighting, the sharpest lens, and a top-tier mic—but if your content doesn’t connect, none of it matters. Story and authenticity still carry the weight.
Learn your tools one at a time. Get comfortable with your camera settings, practice editing workflows, and troubleshoot audio issues as they come. Rushing into a stack of pro gear without knowing how to use it isn’t impressive—it’s expensive frustration.
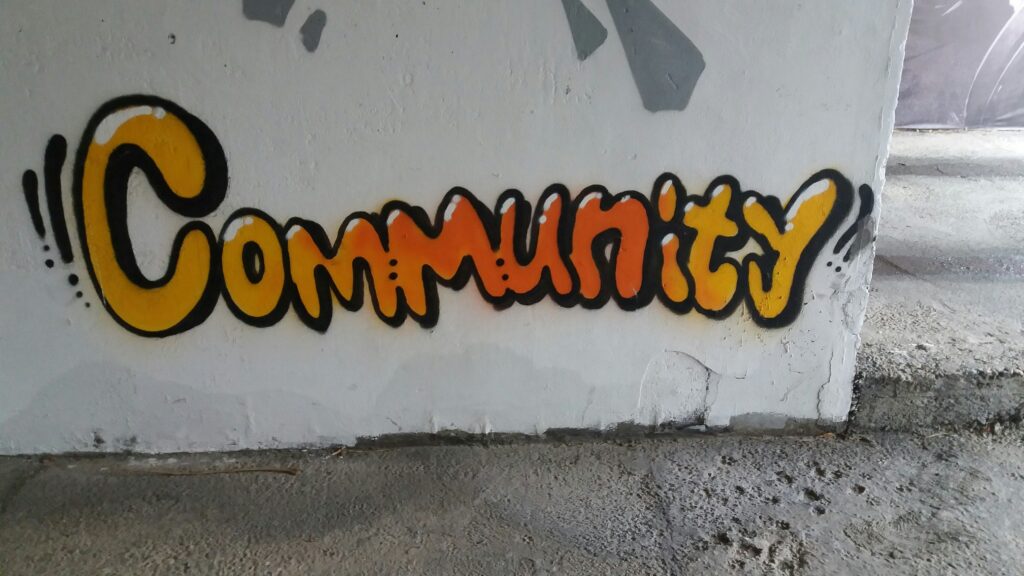
More importantly, gear can’t build your audience. That comes from showing up consistently and building a real relationship with viewers. Community, not cameras, creates staying power in this space. Want proof? Plenty of successful vloggers still shoot on smartphones but keep fans hooked with strong stories and regular uploads.
If you want to build reach that lasts longer than your latest upgrade, start here: learn how.
Final Word
At the end of the day, gear is just a tool. Good gear makes your message clearer; great gear gets out of the way entirely. The real power lies in how you use it. Don’t waste time chasing the flashiest setup unless it actually improves the story you’re trying to tell.
Skip the flexing. Nobody cares how expensive your mic is if your delivery is flat. What creators need now is intentionality—picking equipment that simplifies their process and sharpens their connection with the audience. Keep what serves the message. Ditch the rest.
Focus on tools that work for your workflow, not your ego. Creativity scales when you stop fussing with gear and start pressing record.
 As a co-founder of vlogedgevault Zorien Quenthos combines technical expertise with visionary leadership. His contributions spotlight the latest innovations in media technology, ensuring the platform remains a trusted hub for vloggers and digital creators.