Know Your Story Before You Start
Before you even hit record, figure out what your video is trying to do. Is it meant to entertain, teach, or pump someone up? Know that first it’ll guide every edit. A clear purpose makes deciding what stays in the cut easier and faster.
Next, sketch out your A roll (your primary footage, like talking heads or interviews) and your B roll (supplemental visuals cutaways, scenery, hands doing stuff). Don’t wing it. Even a rough list helps you shoot with intention and avoid hours of unusable footage later.
Throughout, stay locked on your message. It’s easy to get swept up in flashy effects or rambling side notes. Keep pulling your story back to the core. What’s the one thing someone should walk away with? That becomes your compass.
Intent beats improv. Plan smart, shoot sharp, and your edit will be smoother by miles.
Choose the Right Software
Picking your editing software isn’t just about what the pros use it’s about what fits your pace, your gear, and your style. Starting out? iMovie or CapCut will get the job done. They’re beginner friendly and don’t overwhelm with features you won’t use yet. For those stepping up their game, Final Cut Pro and Adobe Premiere Pro make room for more control, smoother timelines, and better plug in support.
If you’re chasing top tier cinematic quality or crafting long form documentaries, DaVinci Resolve is a real contender. It’s powerful, free to start with, and unmatched for color grading. Premiere Pro offers better integration if you’re already using Adobe products like After Effects or Audition.
Your style also matters. Fast paced vloggers might lean into software with built in motion templates or solid mobile apps. Those favoring a moodier tone may want tools that offer strong LUT (Look Up Table) support, flexible audio EQ settings, and tight keyframe control.
Bottom line: choose something that doesn’t fight your workflow. Look at what plug ins are available, whether it supports LUTs, and how well it handles audio cleanup. Test a few. Stick with the one that lets you create without slowing you down.
Organize Your Footage
Before diving into the editing timeline, take time to set up your project correctly. A clear and organized file structure saves countless hours and lowers the risk of technical hiccups.
Label Everything Clearly
Keeping track of all your footage starts with proper file naming. An inconsistent system will slow down your workflow, especially for multi day shoots or ongoing series.
Use consistent naming formats like YYYY MM DD_Location_ShotType (e.g., 2024 02 10_BeachInterview_Aroll.mp4)
Include version numbers when working on multiple edits (e.g., ProjectName_v2_Final.mov)
Avoid generic names like “Clip001” they’re easy to lose in crowded folders
Build a Smart Folder Hierarchy
A well structured folder system supports smooth editing from import to export. Think of it as setting up your workspace before doing the creative work.
Raw Footage Original, untouched media files
Selects The clips you know you’ll use
Assets Music, sound effects, transitions, graphics, or templates
Final Your exported videos ready for upload or review
Pro Tip: Use the same folder template for every project to stay consistent.
Speed Things Up With Proxy Editing
High resolution footage can overwhelm your system, especially when editing on a laptop. Use proxy files to create a smoother experience without sacrificing quality.
Create lower resolution versions of your original clips for editing
Switch back to full resolution for final export
Most editors (like Premiere Pro and DaVinci Resolve) offer built in proxy workflows
Getting organized isn’t glamorous, but it’s the foundation of professional editing. Don’t skip this step.
Cut for Flow and Story, Not Just Time
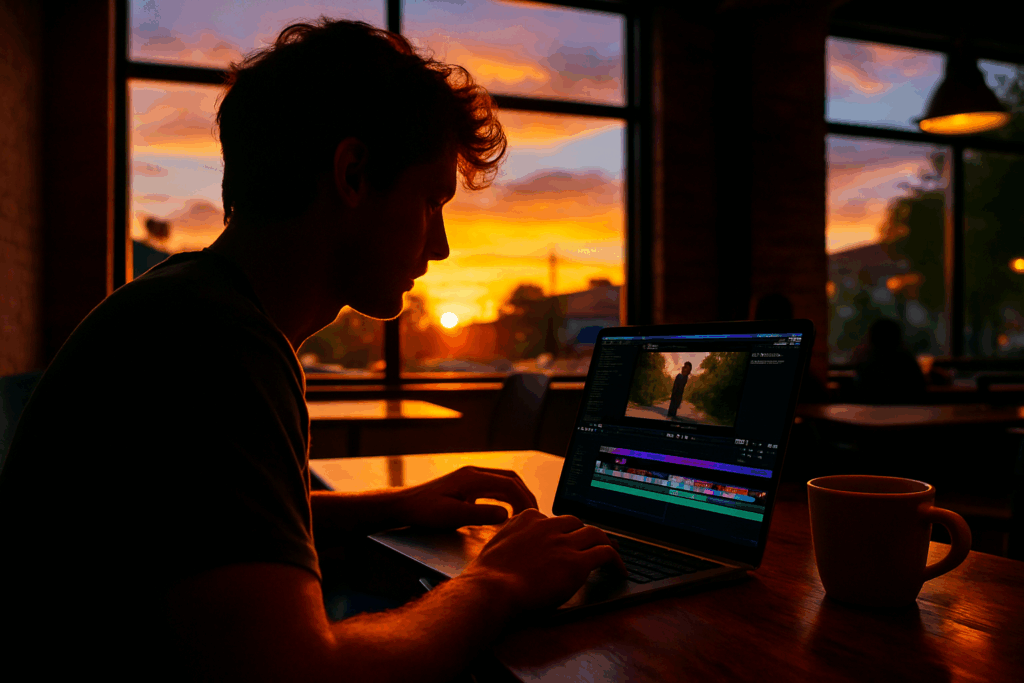
If viewers aren’t hooked in the first 10 seconds, they’re gone. That’s just how it works now. Start with something sharp: a question, a moment of surprise, or a high energy frame. Whatever makes people stop scrolling. Vlog intros don’t get two chances.
Once you’re in, trim everything that doesn’t push the story or build the vibe. Be brutal. That 20 second clip of your camera falling while you talk about breakfast? Gone. Every frame should earn its place. Short doesn’t mean lazy it means precise.
Use your editing tools like a pro. J cuts bring audio in before video. L cuts keep sound rolling while scenes shift. Jump cuts? Perfect for pace and energy, especially in dialogue heavy vlogs. When used intentionally, these cuts let your content move fast without losing the thread.
Your edit should feel tight, not rushed. Every transition, soundbite, and beat should lock into the rhythm of your story. Keep only what moves things forward and cut the rest.
Master Sound and Music
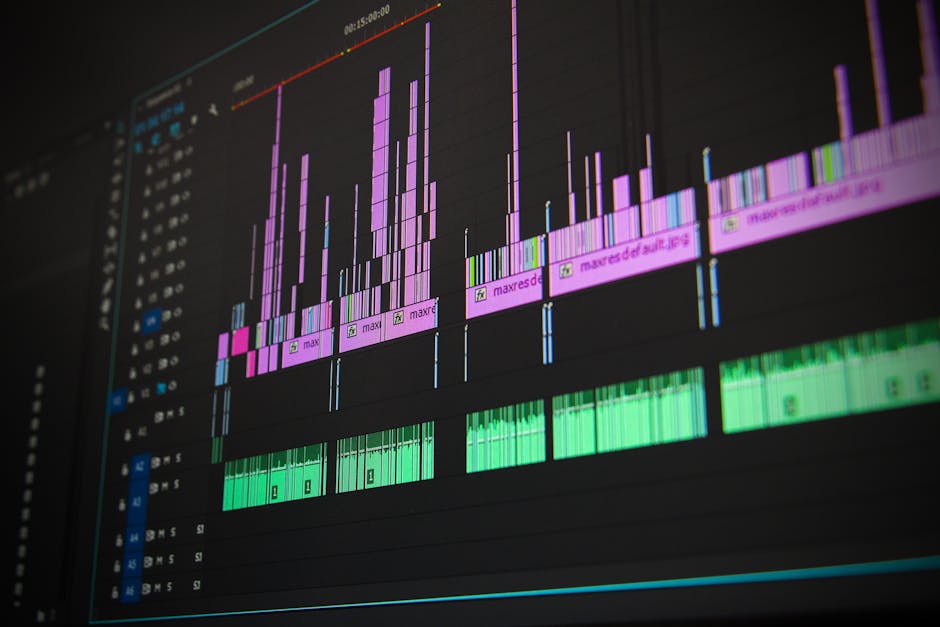
Good editing isn’t just about what you see it’s about what you hear. Start with dialogue. If your voice is too low, peaking, or buried by background noise, people will bounce. Level your dialogue so it sits comfortably around 6dB to 3dB, and use EQ to clean it up. Roll off the low end to cut rumble, soften harsh highs, and shape vocal presence so it sits clearly in the mix.
Next, music. Think support, not spotlight. Your track should lift your energy or emotion, not fight with your voice. Pay attention to volume: duck music under dialogue, and consider easing in with fades or pulling it back during heavy talking segments.
Finally, SFX. Use them like seasoning. A door creak here, a soft whoosh there these small touches can make a scene feel alive without becoming noise. Keep them clean and purposeful. Too many effects, or poorly mixed ones, can make your edit feel chaotic fast.
Sound can turn a solid cut into a cinematic one. Just don’t let it shout over your story.
Add Transitions and Graphics With Purpose
Less is more when it comes to transitions. Unless your content calls for bold stylistic flair, stick with simple fades, cuts, or dissolves. Flashy wipes or 3D spins can distract more than they impress. If your editing style fits a clean, cinematic vibe, let that guide your hand.
Text overlays, lower thirds, and calls to action these aren’t just add ons; they’re tools. Use them to clarify, not clutter. Drop in a lower third to intro a guest or location. Place CTAs at natural pauses, not in the middle of a punchline. Keep it tight, keep it relevant.
Branding matters. Fonts, colors, and placement should echo your channel’s identity. Reuse presets or templates where you can. Consistency doesn’t just look pro it feels intentional. Your audience may not mention it, but they’ll feel it if it’s off.
Final Polish
By the time you hit the final polish phase, most of the heavy lifting is done but this is where decent content becomes clean, pro tier content.
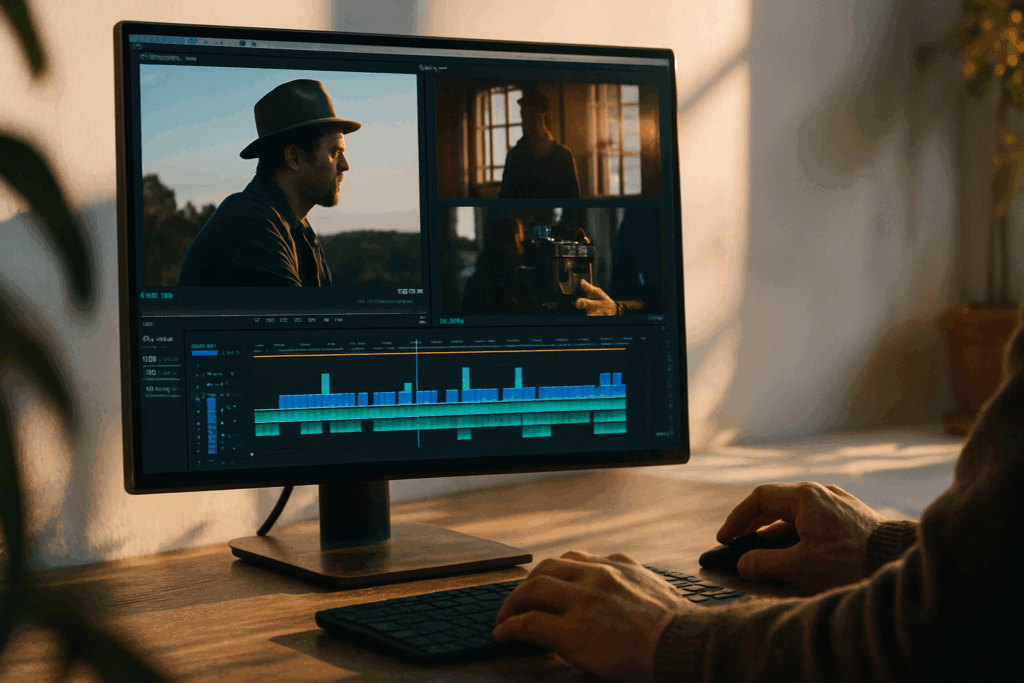
Start by color correcting. This isn’t the time to get creative; this is about balancing exposure, fixing white balance, and syncing the look across shots. Once your footage is even and realistic, then you move on to grading this is the creative part where you bake in a specific tone or vibe.
Next, check your audio. Sync it clean across all devices and layers. Even minor lag or inconsistent levels can wreck your video. Play it through headphones and speakers. Balance your dialogue against background tracks. What sounds good on your editing timeline might sound wildly different on mobile.
Finally, dial in your export settings. What works for YouTube isn’t ideal for TikTok or IGTV. Think about aspect ratios, resolution, and bitrate. Export a high quality master, then create versions optimized for each platform. Fast delivery and solid quality go hand in hand when you prep it right.
Treat this step like closing the loop. It’s the anchor between your raw creativity and how your audience experiences it.
Bonus Tips From the Pros
Editing doesn’t have to eat your week. Smart vloggers use templates and presets to skip the grind. Got a killer title animation or lower third? Save it and drop it in on future projects. Build a folder of go to transitions, filters, and effects that match your tone then just tweak as needed.
Reusing branded intros and outros isn’t lazy; it’s pro level consistency. It keeps your audience grounded, reinforces identity, and saves you time. Once those bumpers are dialed in, make them part of your default sequence.
And here’s a non negotiable: back up your final exports. Every. Single. Time. Hard drives fail. Laptops crash. Cloud storage is cheap insurance. Keep one copy local, one in the cloud, and rest easier.
Check out more professional editing tips to level up your workflow.
 Aaron Cloutieristics brings a sharp eye for digital innovation to vlogedgevault With a strong background in tech-driven content creation, Aaron focuses on exploring emerging tools, platforms, and strategies that shape the future of vlogging and online media.